Begin with the question you need to answer
Are you exploring a shape that does not exist, or trying to represent an object you can photograph from several angles? Image-based AI generation is useful for interpreting a visual concept. Photogrammetry is a capture workflow built around overlapping views of an existing subject. Neither choice removes the need to inspect the final model.
Choose generation for concept exploration
A drawing or single reference can be enough to start exploring a plausible shape. This is useful when the goal is iteration rather than documenting an exact physical object. Hidden surfaces remain uncertain, so judge the result as a design proposal. Plan for corrections where identity, dimensions, or mechanical fit matter.
Choose capture when the real object matters
A capture workflow requires access to the subject and a carefully planned set of views. Lighting, coverage, surface appearance, and the stability of the scene affect what you can reconstruct. Before a large capture session, test a small representative subject and verify that your chosen software can resolve the surfaces you care about.
Budget for the complete workflow
Compare preparation, capture or generation, cleanup, texturing, and destination testing. A quick first preview can still require substantial editing. An elaborate capture can be worthwhile if preserving the original surface is the central requirement.
For fitting parts or other dimension-sensitive uses, include an independent measurement strategy. A model that resembles an object is not automatically a verified dimensional copy. Keep the decision grounded in the actual deliverable: a concept, a visual asset, a print, or a measured object.
Ask whether you need an interpretation or a capture
The first decision is not which tool looks faster. It is what kind of evidence you need the result to represent. If you have a drawing of an object that does not exist, you are asking for an interpretation of that design. If you have a physical object and want to represent its observed surfaces, you are considering a capture problem. These goals can lead to similar-looking previews, but they are not the same claim. A plausible generated shape should not be presented as a measured reconstruction merely because it resembles a photograph.
Write a one-sentence brief before choosing the method. For example, you might need a fantasy prop for a scene, a digital record of a sculpture, or a starting mesh for a decorative print. Then list the aspects that matter: visual identity, surface detail, dimensional accuracy, editing time, or downstream compatibility. A single project may involve several priorities, but ordering them helps you make tradeoffs. The photo-to-3D guide is useful when the central goal is creative interpretation, while a capture workflow requires deliberate planning around the real subject and the views available to you.
Understand what a single reference does not reveal
One image cannot directly show every surface of a three-dimensional object. It leaves the back, underside, internal spaces, and some part relationships uncertain. Image-based generation fills those gaps with an estimated shape. That can be useful for exploring a concept, especially when exact correspondence to a real object is not required. It also means you should inspect hidden surfaces carefully and expect to edit some of them. The image preparation guide helps you make the visible evidence clearer, but it cannot turn an unseen surface into a documented observation.
Consider a drawing of a stylized chest. A generator can propose the depth, rear panels, and underside needed to make it three-dimensional. Those proposals may be perfectly useful for a game concept even if the drawing never defined them. Now consider a real carved object whose back contains a distinctive pattern. If that pattern is not visible in the source, a single-image result does not establish what it actually looks like. The difference between those two examples explains why an appealing result can be appropriate for one brief and inadequate for another.
Plan capture around the subject and the available access
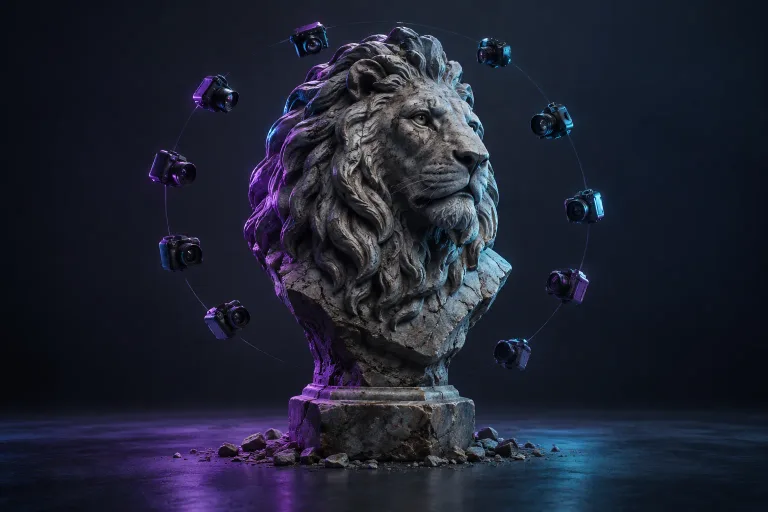
A photographic capture workflow depends on collecting suitable observations of the same subject. Before taking many pictures, consider whether you can view the object from enough directions, whether it will remain stable, and whether the lighting and surface appearance make the features readable. A fragile object behind glass or a subject that changes shape during capture presents different constraints from a small static ornament on a controlled table. Evaluate the practical situation before committing to a large session. The number of photographs alone does not prove that the dataset describes the surfaces you need.
Start with a representative test and inspect the result in the software you intend to use. Check whether the relevant surfaces were reconstructed and whether any missing areas matter for the brief. Keep the original photographs organized so that you can understand the relationship between the captured views and the output. Avoid treating a repaired or filled region as directly observed geometry if the software had insufficient evidence there. Capture workflows also involve interpretation, cleanup, and limits. Clear documentation is more useful than describing every reconstructed model as automatically exact or complete.
Compare the full workload rather than the first preview
Estimate preparation, capture or generation, processing, cleanup, materials, and destination testing. A quick generated preview can still require extensive editing to satisfy a particular design. A carefully captured object can require substantial cleanup before it becomes a useful game asset or a printable mesh. The correct comparison is the time and effort needed to reach your deliverable, not only the time until something appears on screen. Include the tools and skills you already have when making that estimate, and allow room for a representative test before scaling the workflow.
Think about revision as well. If the concept changes, generation may help explore another version from revised artwork. If the real subject must be represented faithfully, changing the source requires revisiting the capture or acquiring additional observations. In both cases, keep source material and intermediate versions so you do not lose useful work. The Blender guide explains a review and cleanup process that can follow either method. Having an editable result is valuable, but the amount of editing should remain visible in your project history when you describe how the final asset was made.
Do not infer dimensional accuracy from visual similarity
A model can resemble an object closely while still having the wrong dimensions or local proportions. If the project depends on a known size, establish and verify scale independently in the appropriate workflow. If fit or other dimension-sensitive requirements matter, use a measurement strategy suitable to those requirements rather than relying on appearance alone. A rendered comparison can be useful for judging identity, but it is not the same kind of evidence as a measurement. Keep the distinction clear when deciding whether an asset is suitable for its intended purpose.
For a decorative printing project, you may only need a chosen overall height and a structurally sensible mesh. Even then, check the final dimensions, thin features, and slicer interpretation before producing the object. The printing guide provides that downstream review. A capture or generation method does not eliminate the need to prepare the file for the printer and material. Likewise, a visually faithful object may be unnecessarily heavy for a game scene and need optimization. Method selection and destination preparation are connected decisions, but neither substitutes for the other.
Use a small decision exercise before a larger project
Choose a modest subject that resembles the kind of work you expect to do regularly. Define the acceptance criteria, prepare the source, and record the time spent at each stage. Inspect the result in the actual destination, whether that is an editor, a game scene, or a printing workflow. Note which problems arose from the subject, the source material, or your familiarity with the tools. This gives you more useful evidence than comparing promotional images from unrelated services. The test does not need to prove which method is universally better; it should inform your own project.
If you can reasonably test both approaches, compare them against the same brief and document where each meets or misses the requirements. Do not force the outputs to be identical if their purposes differ. An interpreted fantasy version and a captured real object answer different questions. You may find that a hybrid workflow is appropriate, such as using captured geometry as a reference while rebuilding parts for another use. Label the stages clearly so that collaborators know which surfaces were observed, generated, or manually remodeled and can judge the final asset accordingly.
Present the result with accurate provenance
Keep the source drawing or photographs, the original output, the edited working file, and the final deliverable together. Add a concise note explaining the method, important corrections, and the destination checks performed. When sharing a before-and-after example, distinguish the source from a rendering of the actual mesh and from a photograph of a physical object. If a print was repaired or redesigned before fabrication, state that. A clear account of the process is more credible and more useful than implying that every attractive preview directly represents a complete, unedited reconstruction.
Modzi3D currently focuses on interpreting a reference image through its image-to-3D workflow. It should not be confused with a full photographic capture system merely because the input can be a photo. After export, continue with the format, editing, optimization, or printing guide that matches your destination. The best method is the one that produces evidence and an asset appropriate to your actual brief, with its limitations understood and its final result verified.
Further reading
Microsoft TRELLIS: image-conditioned 3D generationGive your idea a starting point.
Create an account to generate from your reference, or explore the example gallery before you start.
Explore the studio