Separate the character from the illustration
A drawing made to tell a story may not be a clear construction reference. Dramatic perspective, motion blur, overlapping limbs, and a busy background can conceal the shape. Prepare a clean version with the full character visible and enough space between major parts.
Resolve ambiguous forms first
Look at the drawing as if you had never seen the character before. Is the dark region a hole, a painted mark, or a shadow? Does an accessory connect to the body? Simplify ambiguous details or add a clearer reference before generating. Save the expressive illustration separately; the construction image has a different job.
Inspect identity from several angles
After generation, compare the silhouette, proportions, and defining features with your intention. Look at the face from the front and side and check the back of the head. Areas hidden in the drawing need interpretation, so expect to make design decisions rather than treating every surface as a faithful reconstruction.
Plan for the destination
A textured mesh is not automatically an animation-ready character. If the character must bend, speak, or perform, plan for topology review, rigging, skin weights, and movement tests. For a collectible print, prioritize physical connections, scale, and delicate features instead.
Keep your first iteration simple. Large readable shapes are easier to judge than many tiny accessories. Once the overall character works, refine details on a copy so you can compare the effect of each change.
Decide whether you are making a statue or a performer
A character can serve several very different purposes. A static decorative figure needs a recognizable silhouette and an appropriate pose. A game character that moves needs additional preparation for deformation, rigging, and animation. A physical miniature needs dimensions and structural checks. Begin by writing down which of these outcomes you actually need. A drawing that works beautifully as a poster may conceal the information needed for a movable or printable object. Defining the deliverable early helps you judge whether the generated mesh is a useful starting point rather than an impressive but unsuitable image.
List the character's most important identifying features. These might include the size of its ears, a distinctive hat, a rounded body, or a particular relationship between the head and limbs. Keep the list short enough to use during review. If the generated model preserves those features, a minor surface irregularity may be acceptable. If it loses them, a highly detailed texture will not necessarily recover the character's identity. Use this list to compare the source drawing and the actual mesh from several angles, including views that were not visible in the original artwork.
Prepare an illustration that communicates complete anatomy
Choose artwork that shows the entire character rather than a cropped portrait. Include feet, hands, head accessories, and the base if there is one. Avoid hiding important parts behind scenery or another character. A clean background helps separate the outline, while simple lighting makes the main volumes easier to interpret. If you are creating the drawing yourself, use a pose that exposes the features relevant to the intended result. The image preparation guide provides a detailed checklist for framing, contrast, and visible gaps before you upload a reference.
Consider whether the pose causes parts to overlap. An arm held tightly against the torso may become difficult to separate. A large weapon, staff, or other prop can obscure the body behind it. Flowing hair or clothing can hide limb boundaries and create surfaces that are visually ambiguous from one angle. You do not have to remove every artistic detail, but you should understand the tradeoff. If animation is the goal, a clear, less dramatic reference may be more useful than an action pose whose silhouette depends on foreshortening and overlapping shapes.
Treat the unseen design as an open question
A front illustration does not specify the exact back of a jacket, the underside of a shoe, or the volume behind a stylized face. The generation process must estimate those areas. Review them as design proposals rather than faithful copies of information that was never supplied. If the character belongs to an established project, compare the result with the design requirements and note where manual changes are needed. A plausible back view can still be wrong for your character. Keep that uncertainty visible in your review rather than presenting the first output as a finished model sheet.
If you have several drawings, choose a reference supported by the selected workflow. Do not automatically combine a front, side, and rear view into one collage for a single-image tool. The system may interpret separate drawings as separate figures. Where a specific multi-view workflow is available, follow its input requirements. Otherwise, use your additional drawings as review material while editing the mesh. The distinction matters: images used by you to evaluate the result are not necessarily images that the generation endpoint can jointly interpret as a consistent three-dimensional character.
Inspect proportions before small decorative details
Start your review with the relationship between the head, torso, and limbs. Compare the silhouette at a modest screen size, then rotate the model to see whether the proportions remain coherent. Look for compressed depth, an unexpectedly narrow torso, or enlarged accessories that change the character's balance. These broad issues usually matter more to recognition than a missing seam or tiny buckle. Create an acceptable, repairable, and unsuitable list so that you can decide which corrections deserve attention before spending time on surface polish.
Inspect the geometry with a plain material where possible. Painted eyes, highlights, and shadows can suggest forms that the mesh does not actually contain. A smooth face may look expressive through its texture while lacking the structure needed for another view or physical printing. This is not automatically a failure; the significance depends on the deliverable. A distant static game figure and a close-up printable bust have different requirements. Use the troubleshooting guide to separate material appearance from structural defects before deciding whether to edit, simplify the design, or generate another version.
Plan for rigging and deformation separately
A generated mesh does not automatically include a usable skeleton or animation setup. Even when its pose looks suitable, inspect whether the geometry can support the movements you need. Areas around shoulders, elbows, hips, and knees may require particular attention during an animation workflow. Dense geometry alone does not prove that a joint will deform cleanly. Discuss the mesh with the intended rigging workflow before investing in detailed materials. You may need to rebuild or retopologize parts of the surface instead of trying to force every generated polygon into the final animated asset.
Test representative movements early once a rigged version exists. A small bending test can expose a problem that is invisible in a still render. Keep the original model, the edited mesh, and the rigged version as separate milestones. If the character is only intended as a static figure, do not add unnecessary animation work. Instead, concentrate on the pose, surface quality, and destination requirements. The Unity guide covers the difference between importing a visible character and preparing the interactions and behavior that make it usable inside an actual game project.
Adapt the design for a physical miniature
A pose that works on screen may need changes before printing. Thin fingers, narrow ankles, long antennae, and floating accessories can become vulnerable at a small scale. Set the intended dimensions first, then examine those features in the printing workflow. Consider whether the figure needs a base or whether parts should be joined or simplified. Do not treat a dark texture line as a real separation in the mesh. The image-to-STL guide explains why a closed-looking rendered surface and a reliable print mesh are different things that need separate inspection.
Review the orientation and support plan with your chosen slicer and process. The most attractive view of the character may be the surface you want to protect from support contact. If you split the figure into parts, plan alignment and assembly rather than making arbitrary cuts late in the process. Record any design changes between the generated mesh and the printed version. A before-and-after example should distinguish the actual model output from your repaired print mesh and the final physical photograph. That makes the example informative instead of implying that all character illustrations produce finished miniatures immediately.
Keep rights and project history attached to the character
Use a drawing that you own or have permission to process. An image found online may involve rights in both the artwork and the depicted character. Keep a note about the source and any relevant permission with the project. Do not assume that generation removes those considerations or guarantees an exclusive design. If a client supplied the reference, clarify the intended deliverable and record the transformations you performed. A clear project history supports review and handoff without requiring someone else to guess where a distinctive feature originated.
Finish by exporting the version appropriate to the next tool and opening it again to verify the result. Keep texture resources together when the format requires them, and preserve an editable working file for later corrections. Include a labeled preview of the actual mesh alongside the reference drawing. A concept illustration, a 3D rendering, and a photograph of a print should each be identified accurately.
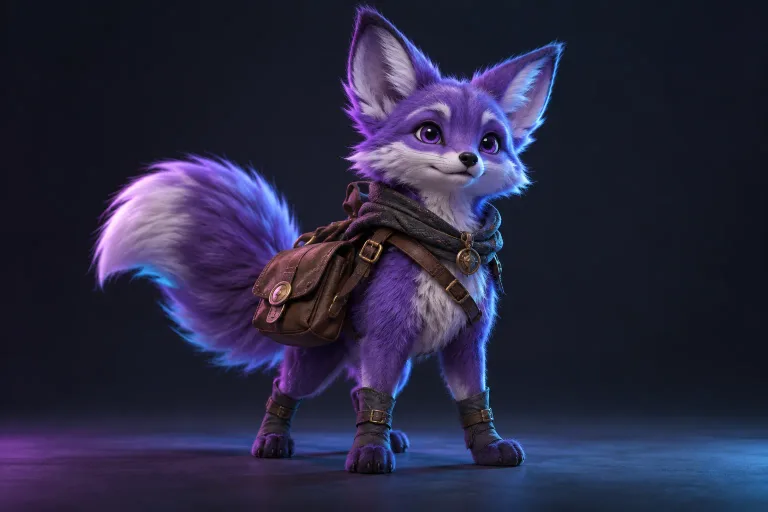
As a small review exercise, imagine a stylized fox adventurer whose identity depends on large ears, a short cape, and oversized boots. Compare those three features first. If the boots remain recognizable but a tiny belt buckle is missing, decide whether that matters at the final viewing size. If the ears are fused into the head, the character may need a more important correction even if the texture is attractive. This ranked feature list keeps the review grounded in the design and gives an editor a clearer brief than a request to make the entire model more detailed.
Further reading
Khronos glTF: meshes, skins and animationGive your idea a starting point.
Create an account to generate from your reference, or explore the example gallery before you start.
Explore the studio