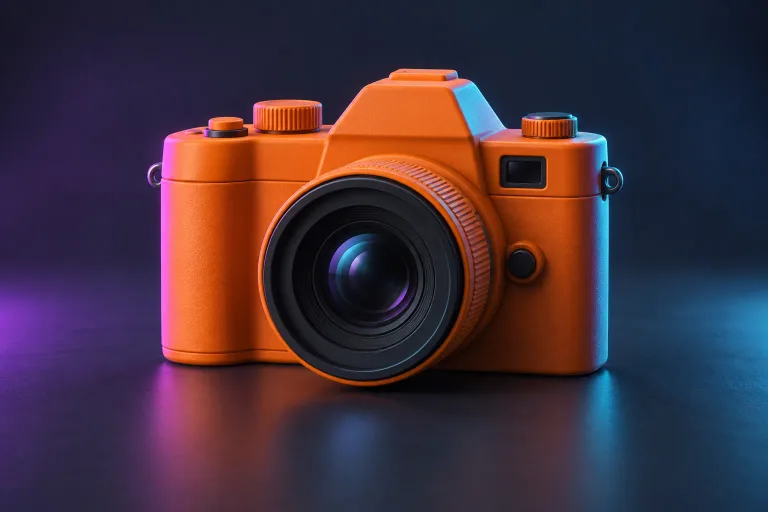
Make the subject unambiguous
Treat your reference as a short visual brief. A viewer should immediately know which object matters and where its outline ends. Remove unrelated props and choose a camera angle that explains the shape. A plain background is useful, but the distinction between background and subject matters more than a particular colour.
Keep the entire outline visible
Do not crop feet, handles, horns, or other defining parts. Leave a modest border around the object. Overlapping components are harder to interpret: a handle hidden behind a body gives less information than the same handle separated from it. For a character, prefer a pose with visible limbs and clear gaps.
Avoid lighting that describes the wrong shape
Hard shadows can look like grooves or detached pieces. Strong highlights may obscure a surface. Start with soft, even illumination and avoid filters that erase edge detail. If your object is glossy, compare a few angles and select the one where the outline and main surfaces are easiest to read.
Change one thing at a time
Create a small reference set: the original, a tighter crop, and a version with a simpler background. Keep the generation settings fixed when comparing them. Record which input produced the clearest silhouette and fewest unwanted connections. This makes your next decision more useful than repeatedly changing both the image and every model setting.
No reference can guarantee a correct hidden surface. If exact dimensions or the back of an object matter, plan for additional capture or manual modelling rather than relying on a single view.
Start by removing uncertainty, not adding resolution
A useful reference communicates the object's form with as little ambiguity as possible. It does not have to look like a polished advertisement. A dramatic product photograph may contain reflections, shallow focus, colored lighting, and props that are attractive to a human viewer but confusing as a modelling reference. Begin by deciding which parts of the object define its identity. For a watering can, that might be the body, spout, handle, and opening. For a character, it could be the proportions, pose, ears, and separated limbs. Those features should all be visible enough to evaluate.
Look at the image at a modest viewing size before inspecting individual pixels. Can you distinguish the main parts immediately? Does the outline separate cleanly from the background? Is the object complete, or are important features outside the frame? Enlarging a weak photograph does not add information that the camera never captured. Likewise, sharpening can make an edge look crisper without making its physical structure clearer. Resolve composition and visibility first, then check whether the image has sufficient detail for the kind of object you want to generate.
Frame the whole subject with useful breathing room
Include the entire subject and leave a modest margin around its outermost points. Avoid cutting off the base of a figurine, the tip of a tool, or the edge of a chair leg. Cropped features force the system to estimate where the object ends. Excessive empty space creates a different problem: the subject becomes a small portion of the available image. A practical balance is to make the object prominent without touching the frame. Compare several crops on screen, keeping the proportions unchanged, and choose the one that makes the silhouette easiest to read.
Do not stretch the image to fill a preferred shape. A widened or compressed source changes the apparent proportions you are asking the generator to interpret. If the original picture is unusually tall or wide, add a neutral canvas around it or use a supported crop that retains the complete object. Keep a copy of the original alongside the prepared version. When a generated model looks too broad or too narrow, this lets you check whether the distortion began during image preparation rather than blaming the generation settings. The photo-to-3D guide explains the review process after submission.
Choose an angle that reveals the important gaps
A three-quarter view often shows more of an object's volume than a perfectly flat front view, but it is not a universal rule. Choose the angle that makes the important structure visible. A front view may explain a symmetrical decorative plaque well, while a small turn may better reveal the depth of a container. Watch the spaces between parts: a handle, an arm away from a body, or the gap below an arch. If a critical opening disappears in the chosen view, the reference may not clearly distinguish a hole from a painted mark.
Avoid using several different views inside one collage unless the selected service explicitly supports that arrangement. A single-image workflow may interpret the collage as multiple objects in one scene. If you have several photographs, compare them and select the most informative one rather than assuming more viewpoints on the same canvas will produce a measured reconstruction. For capture methods that depend on multiple overlapping photographs, read the photogrammetry comparison. The input format and reconstruction method need to agree; a collection of images is not automatically a compatible multi-view dataset.
Use lighting that explains the surface
Aim for even illumination that keeps both bright and dark regions readable. A hard shadow can be mistaken for a deep recess, while a blown-out highlight can hide the outline of a rounded edge. If you are photographing a physical object, experiment with a larger or more diffuse light source and check the result on a screen. You do not need to eliminate every shadow. Some shading helps communicate form. The goal is to avoid lighting that disguises the main surface or creates false boundaries across the object.
Reflective, transparent, and very dark materials deserve special care. A chrome object may mostly show its surroundings, and clear glass may reveal background shapes through its body. That does not mean a result is impossible, but it gives you less direct visual evidence about the surface you want. For a concept model, consider whether a photograph of a matte version or a clearly labeled illustration would better express the shape. Do not present an altered reference as a faithful scan of a real object. Any changed materials or simplified details should remain part of your project notes.
Clean the background without damaging the outline
A plain background can make object boundaries easier to distinguish. If you remove a background, inspect the result at the edges rather than assuming the automatic cutout is correct. Thin straps, antennae, fingers, and narrow handles are common places for missing or damaged regions. Look for bright halos, leftover background patches, and accidental holes inside the subject. A background-removal tool may improve a cluttered source while also deleting a feature that matters to the final mesh. Compare the cutout with the untouched original before deciding which version to submit.
Use a background that contrasts with the subject without adding new visual complexity. A nearly black object on a black canvas is hard to separate, while a white object against pure white can lose its outer boundary. Keep the image free of captions, measurement arrows, watermarks you do not control, and decorative frames when they are not part of the object. If you need measurements for later work, record them in a separate note. They should guide your scale checks in Blender or another editor rather than becoming visual elements for the generator to interpret.
The Modzi3D studio accepts JPG and PNG inputs up to the displayed size limit. Use the actual file type, not a renamed extension. A screenshot saved as another format does not become a valid PNG merely because its filename ends that way. Open the prepared image locally and confirm that it is readable, correctly oriented, and free of unexpected transparency or cropping. Your website's optimized editorial WebP images and the generator's accepted upload types are separate concerns. Follow the upload controls rather than assuming every format used elsewhere on the site is accepted as a reference.
Only upload material you are entitled to process. Remove personal information from the visible image when it is not needed for the task, and consider whether a portrait requires permission from the person shown. Preparing or selecting an image locally does not spend generation credits. Confirming generation submits the prepared input at the displayed credit cost. Keep your task reference and use its recorded status instead of making duplicate requests.
Create a reference review you can repeat
Use the same short review for every new input: complete subject, readable outline, visible important gaps, useful lighting, simple background, correct file type, and permission to use the image. Then add one project-specific question. For a game prop, ask whether the recognizable silhouette survives at the expected viewing distance. For a printing project, ask whether small protrusions will need structural changes. For a character, ask whether the pose separates the arms and legs clearly enough to review later. A consistent review makes your decisions easier to compare across different objects.
After generation, return to the prepared reference and compare the actual result with your notes. If a feature was already unclear in the picture, adjust the source before simply requesting more geometry. If the picture was clear but the output still has a local defect, consult the troubleshooting guide and consider an editor repair. Keep the prepared image, original image, settings, and task identifier together. Over time, this collection becomes a practical record of which reference choices help your particular projects, rather than a set of general rules that may not apply to every subject.
Further reading
Microsoft TRELLIS: reference-image to 3D research implementationGive your idea a starting point.
Create an account to generate from your reference, or explore the example gallery before you start.
Explore the studio