3D Model for 3D Printing: From Reference to Slicer
A model that looks good on screen still needs preparation for a physical print. Treat generation as the beginning of your printing workflow.
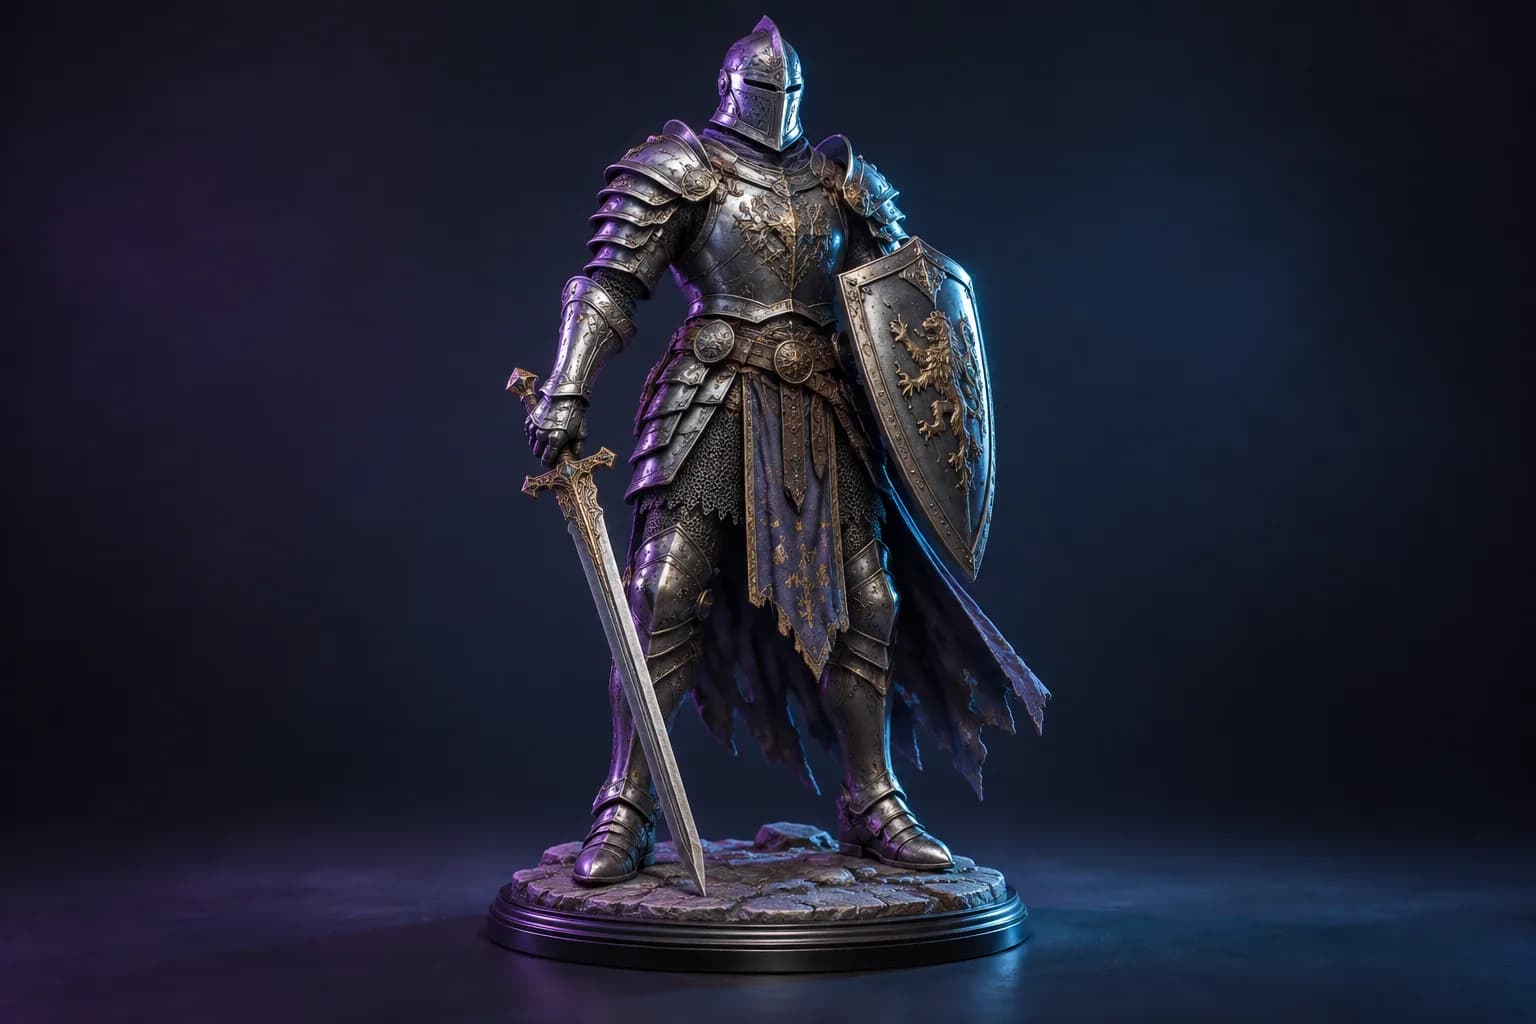
Turn your reference image into 3D
Choose Base or Pro and review the credit cost before submitting. Your completed GLB is saved in your account.
The print-readiness checkpoint
A downloadable STL is a file format, not a guarantee that a physical print will succeed.
Scale and wall thickness
Set the intended dimensions in your editor or slicer. Check thin features against the material, printer and final scale.
Closed geometry
Inspect open boundaries, intersecting shells, floating fragments and inverted faces. Repair on a copy and compare the result.
Orientation and supports
Choose an orientation, then inspect the layer preview. Support contact and overhangs can change the visible finish.
Physical verification
Record the printer, material, settings and a photo of the completed object. Only a real print can demonstrate that particular result.
Start with a shape that can be printed
For a first trial, choose a compact subject with thick supporting parts and a stable base. Thin swords, long unsupported limbs, tiny floating decorations, and hollow-looking regions may be difficult to print or may require redesign.
A photograph does not specify physical scale. Decide the intended height or width in your modelling application and verify the units before export. Resizing a model changes the wall thickness and the size of its details.
Inspect the mesh and repair defects
Check whether the object is closed, whether faces intersect, and whether isolated components are intentional. Examine the bottom and back as carefully as the front. Use your modelling application or mesh-repair tools to address problems before slicing.
Generation does not certify printability, material strength, or engineering fitness. Do not use an unvalidated model as a safety-critical, load-bearing, medical, or precision replacement part.
Match the design to your printer
Choose wall thickness, detail size, and clearances based on your printer, material, and process. A feature that works in resin may not reproduce the same way with a filament printer. Test a small section when the fit or detail is important.
Place the object in the slicer and inspect layer-by-layer output. Look for unsupported areas, missing thin parts, detached islands, and excessive supports. Adjust orientation and support settings for the actual geometry.
Export only after reviewing the result
Download the model format available for your completed job when your account has access. STL is commonly used in print workflows; other formats may retain additional information. The printer normally consumes a sliced file created by your slicer, not the original reference image.
Completed models can be downloaded as GLB from your account. OBJ and STL conversions are separate operations costing 13 credits each; they are not included in the image-generation trial.
Common questions
Explore related guides
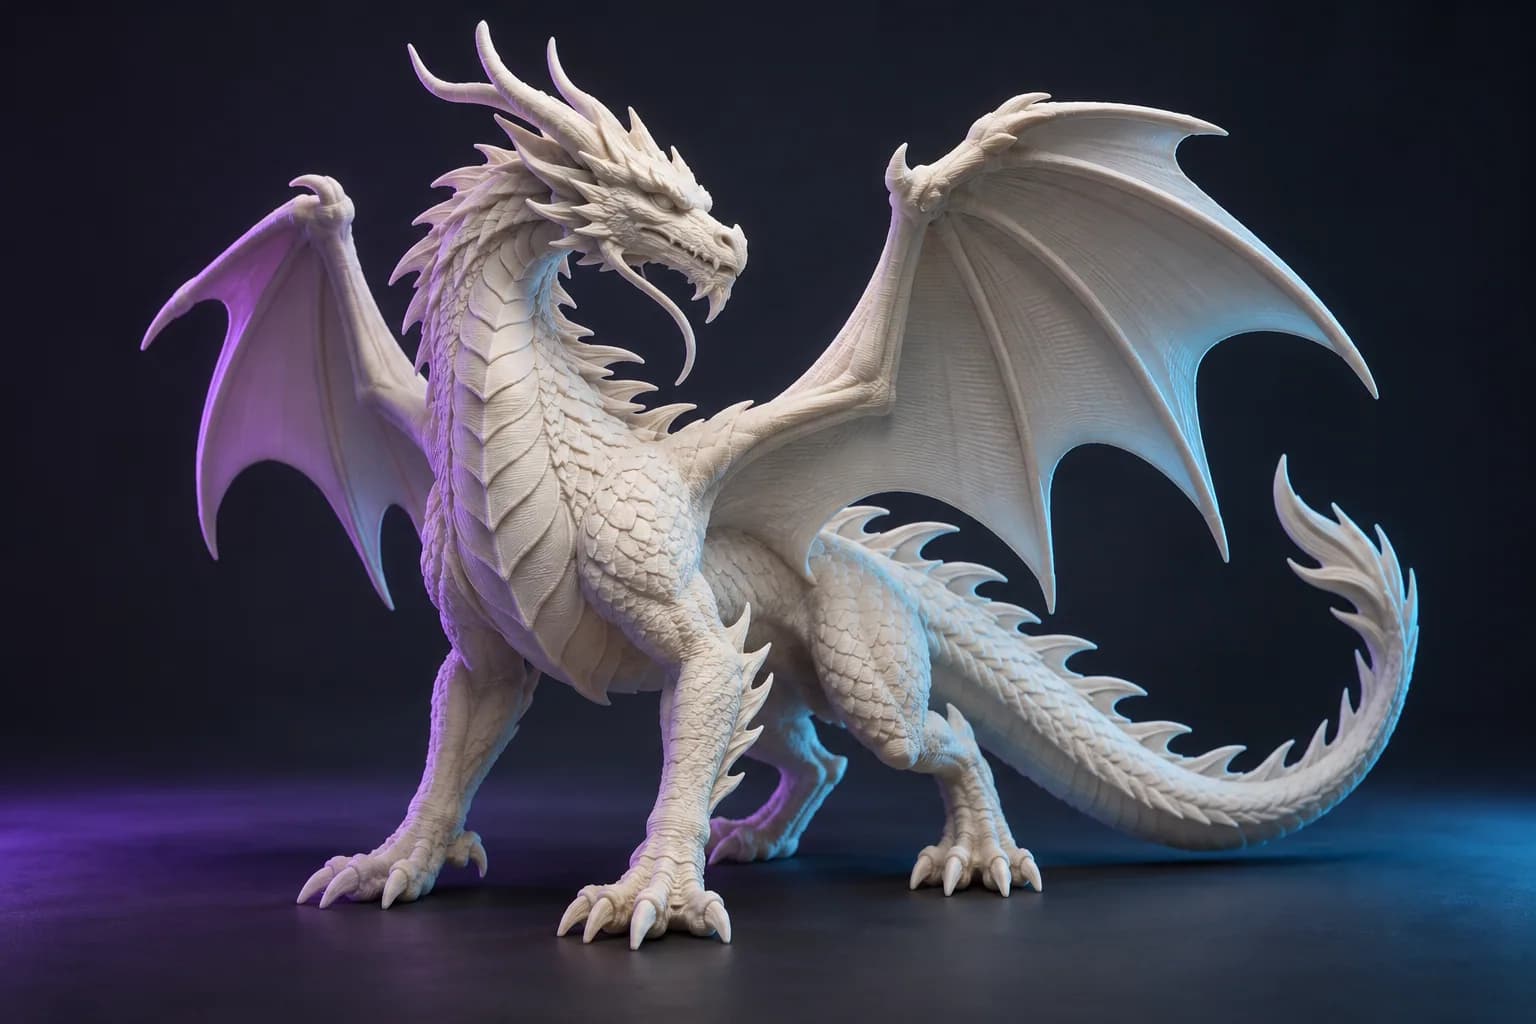
AI 3D Model Generator: Free Trial & Credit Guide
Explore the 3-day image-to-3D trial, card requirement, subscription billing and export costs. Prepare your reference and review Base and Pro before generating.

Create a 3D Model from a Picture
Learn how to create a 3D model from a photograph, choose a useful view, and understand the difference between single-image AI and multi-photo capture.

AI 3D Model Generator from Images
Explore an AI 3D model generator for characters, props, and design ideas. Prepare a reference, inspect the result, and continue in your creative tools.